![]()
Click on an image to enlarge the picture.
 |
Here's a picture of what's left of the Missile System Control Panel (EP2). As you can see, it's been stripped of anything useful. All the relays (even the old MK-5's) have been stripped out. If you lookin the upper right corner of the picture, you can see one of the ways that the missile system was de-milled. They torched big notches in the Loader Rail about every 6 feet. Contributed by Tom Bateman. 101k |
 |
A view of the missile magazine threw the access hatch. Contributed by Tom Bateman. 96k |
 |
A lousy picture of the AN/SPG-55B Radar workshop. Contributed by Tom Bateman. 65k |
 |
The AN/SPG-55B Radar Controlroom. Again you can see that the control panels have been guttedContributed by Tom Bateman. 101k |
 |
More of the AN/SPG-55B Radar Controlroom (What's the real name John?). Contributed by Tom Bateman. 97k |
 |
The 01-Level Aft. As you can see, Rust is the prevalent color now. Contributed by Tom Bateman. 109k |
 |
The AN/SPG-55B radars. The radars and the missile launcher were actually encased to preserve them early after her decommissioning in case it was needed to re-commission her. Contributed by Tom Bateman. 93k |
 |
The Harpoon Controlroom. Contributed by Tom Bateman. 82k |
 |
Whats left of the after mast. Don't ask me why I took this one, I just did. Contributed by Tom Bateman. 101k |
 |
The view into the starboard Radio compartment (clarification by any of you RM's?). Contributed by Tom Bateman. 87k |
 |
The view into the port Radio compartment (clarification by any of you RM's?). Contributed by Tom Bateman. 92k |
 |
Here's a picture of the wardroom as viewed from the port bulkhead. Contributed by Tom Bateman. 87k |
 |
The port side of Lower CIC. Contributed by Tom Bateman. 100k |
 |
The starboard side of Lower CIC. Contributed by Tom Bateman. 104k |
 |
The port side of Upper CIC. I used to stand Engagement Controller watch on the far left console when we were on Condition-3 steaming. Contributed by Tom Bateman. 100k |
 |
The aft portion of Upper CIC. Contributed by Tom Bateman. 96k |
 |
The Chartroom. Contributed by Tom Bateman. 78k |
 |
The starboard Bridge Wing. Contributed by Tom Bateman. 105k |
 |
Whats left of the forward mast. Contributed by Tom Bateman. 92k |
 |
Looking aft from the starboard side of the Signal Bridge. Contributed by Tom Bateman. 122k |
 |
The Fo'csle. Contributed by Tom Bateman. 51K |
 |
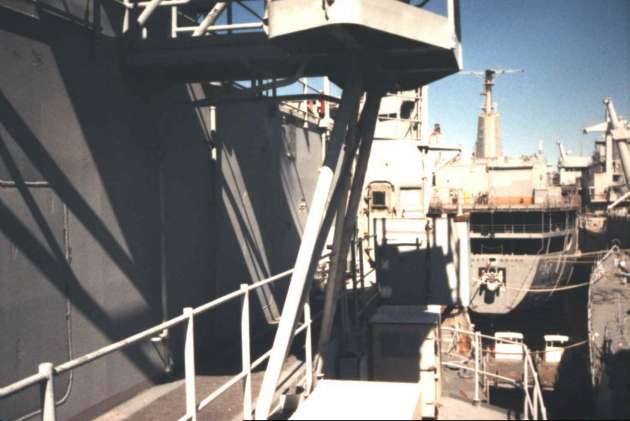
Looking aft down the port side from the Fo'csle. Contributed by Tom Bateman. 37K |
 |
Looking aft down the starboard side from the Fo'csle. Contributed by Tom Bateman. 41k |
 |
The ASROC launcher. Here you can see that the Launcher was originally prepared for preservation but it ended up being scavanged for parts. Contributed by Tom Bateman. 46k |
 |
The Messdecks looking aft. Contributed by Tom Bateman. 56k |
 |
Sickbay. Contributed by Tom Bateman. 42k |
 |
This is where my rack used to be in the 4th Div. Berthing Compartment. Contributed by Tom Bateman. 33k |
 |
What's left of some racks in the 4th Div. Berthing Compartment. Contributed by Tom Bateman. 40k |
 |
The port side of the Assembly area in the Missile House. Contributed by Tom Bateman. 50k |
![]()
[ Quarterdeck | Photo Album ]
![]()
Please send comments/questions gmm1@usspreble.org
Copyright 1997 - 2022 Tom Bateman
This page was last updated on
08/11/2007
.